Boilerplate for BIM Application
Have you ever wanted to have your own custom BIM application?
In recent years, the BIM industry in construction has been experiencing accelerated changes toward automation and the use of cloud applications. Autodesk presents us with its API, Forge or open source initiatives such as IFC.js and Speckle that make our lives easier when creating applications for this industry.
In this series of articles, we will walk through the process step by step to develop and publish your own BIM application with name, logo and personalized domain. We will be using the Autodesk Forge API, along with the most common frameworks, languages and methodologies used in the web application development industry.
Requisitos:
- Basic knowledge of HTML, CSS and Javascript.
- Basic knowledge of ReactJS for front-end.
- Basic knowledge of NodeJS for back-end.
- Desires to learn Autodesk ForgeAPI.
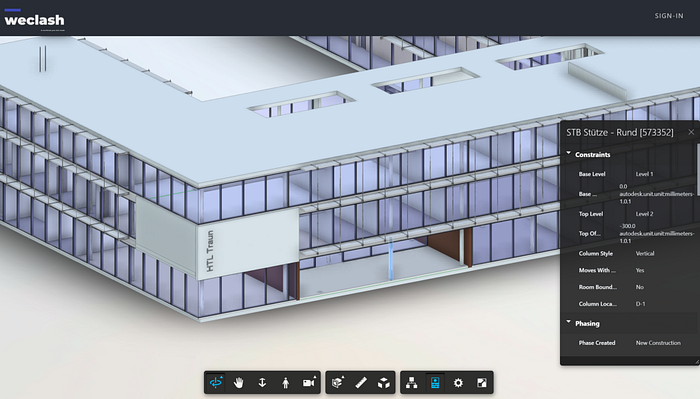
This web application allows us to easily and very quickly share any AutoCAD or Revit file directly with the client. We can configure the availability of our file permanently or temporarily (24 hours). Once the file is uploaded to the platform, you have to share the URL and open it in a web browser without having to install any software or create an account. Perfect for sharing 3D models or 2D plans very quickly.
You can try the 2 demos below::
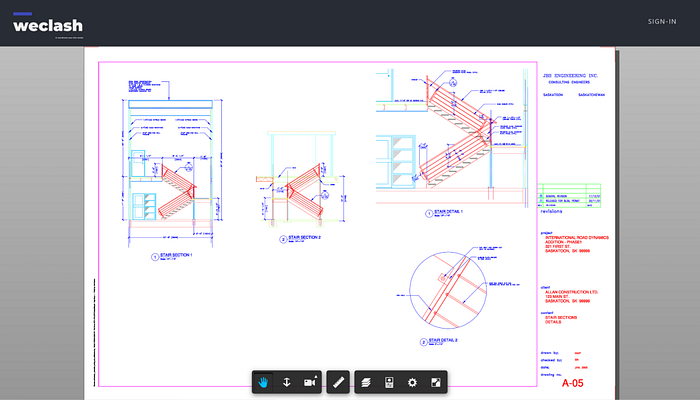
Demo 2D:
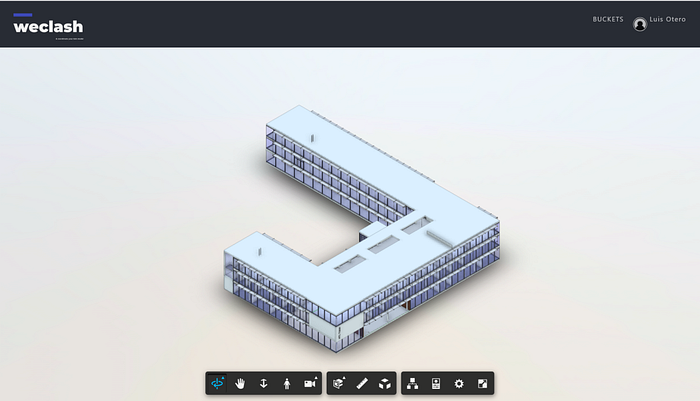
Demo 3D:
Step by step to get started:
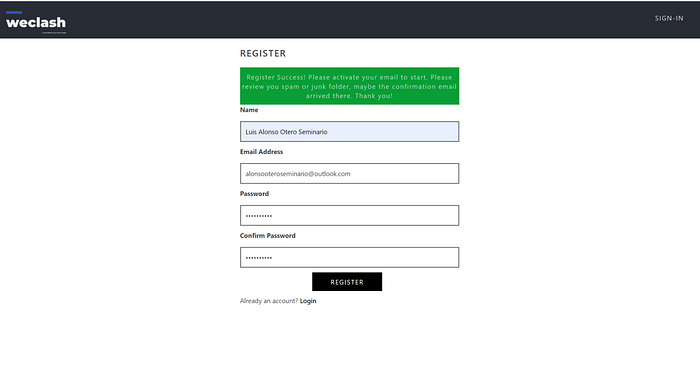
Step 1. Create an Account on the platform. (Check your spam box the first time)
Paso 2. Confirm your email.
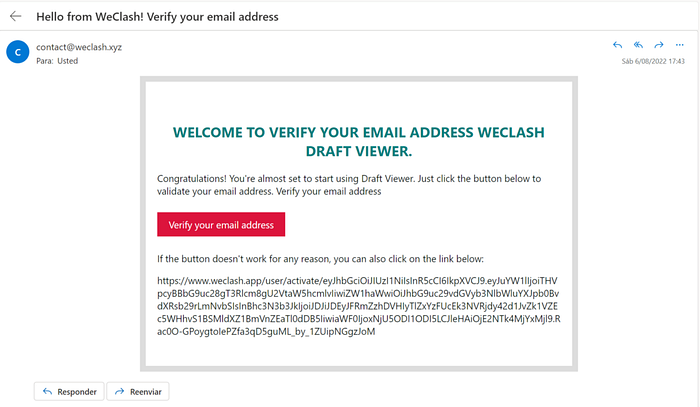
Paso 3. Sign in with your account.
Paso 4. Activate your Buckets. Persistent and Temporary.
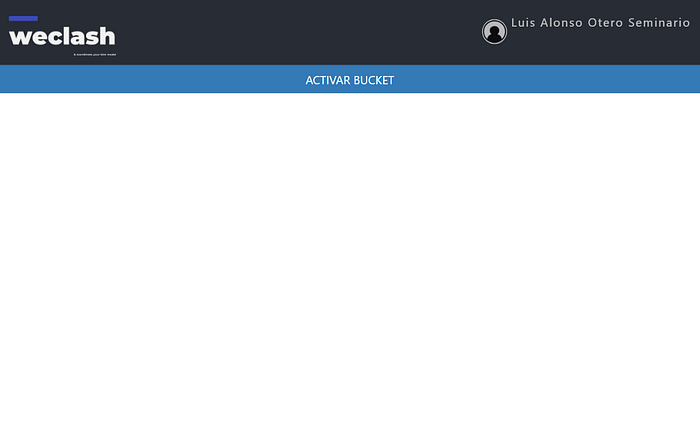
Paso 5. Enter the “Persistent” bucket or “24 hours” bucket.
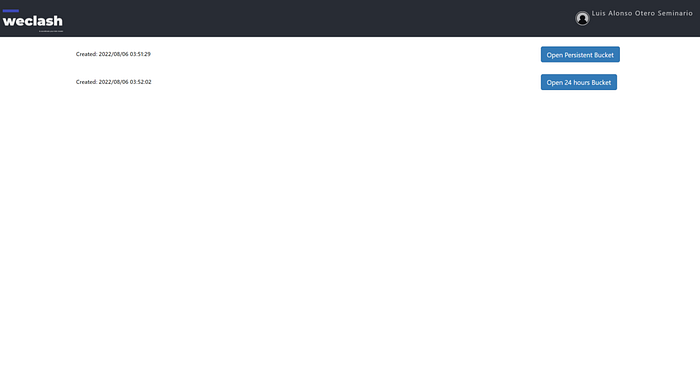
Paso 6. Click on upload file and upload yours.
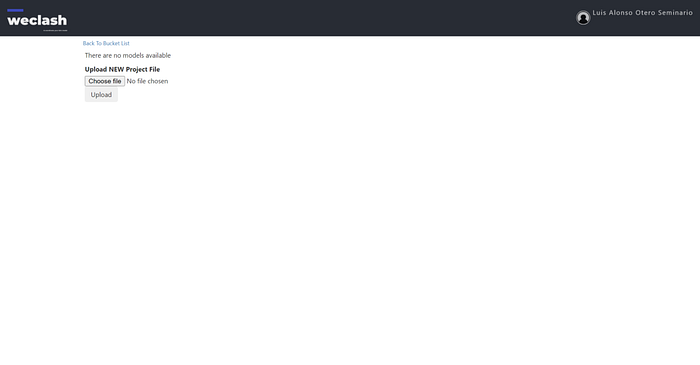
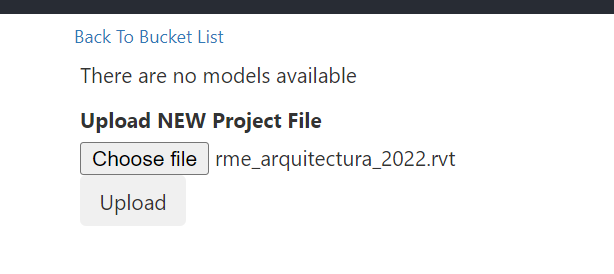
Paso 7. Wait a few minutes and your file will be available inside the bucket.
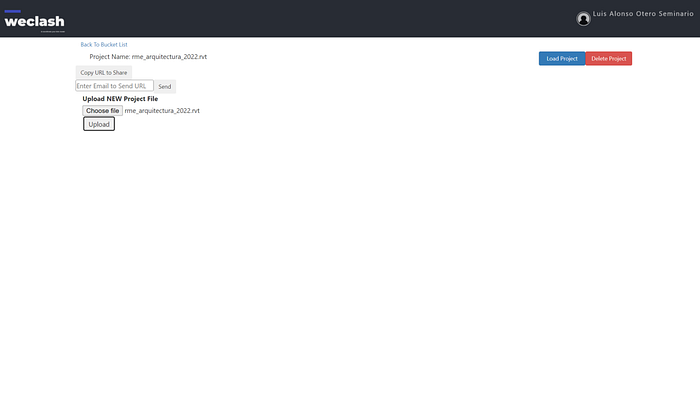
Paso 8. See File.
Paso 9. Copy URL to share.
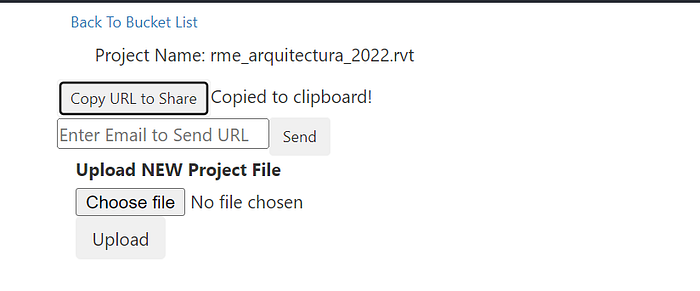
Paso 10. Email the URL.
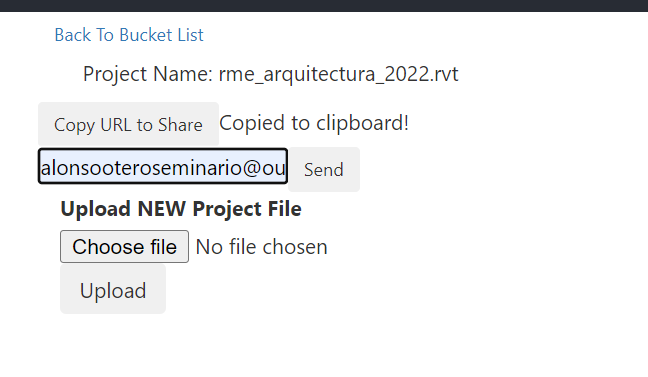
Paso 11. Receive the URL directly in your inbox.
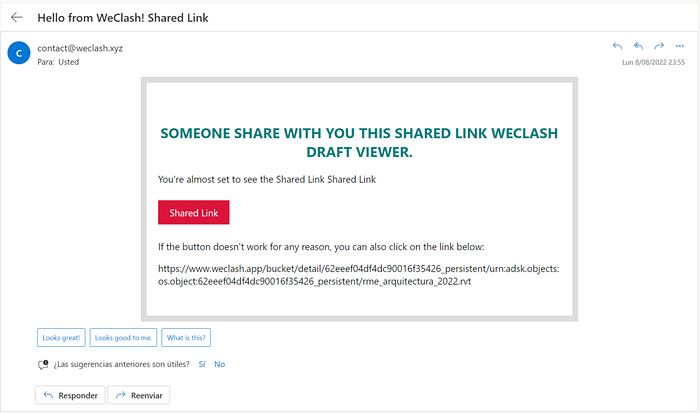
Paso 12. Opening the URL will open the login page. Click on “Start”.
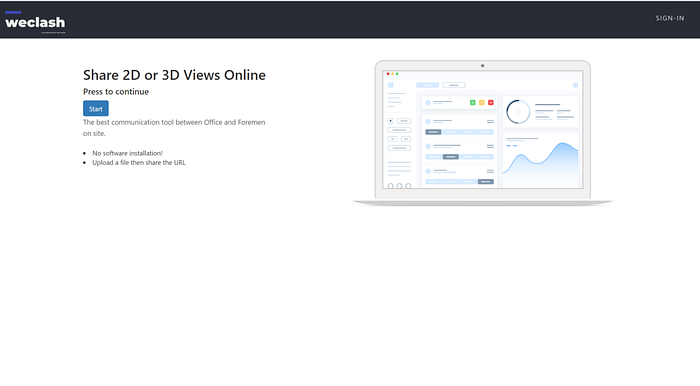
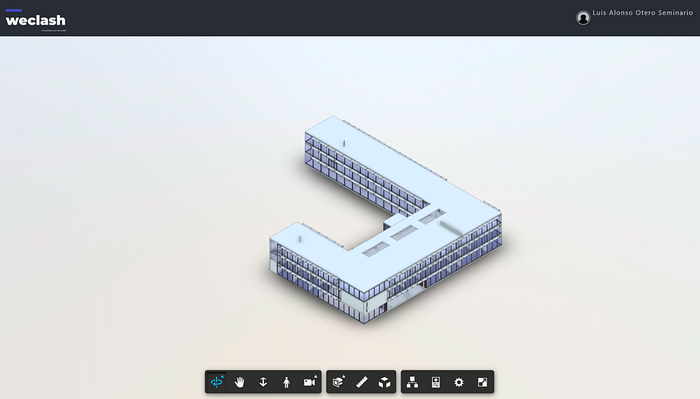
Paso 13. Finally, you can view the BIM model and its information from the web browser.
